I learned a huge lesson this week while quilting Block #1.3 for Leah Day’s Building Blocks Quilt Along. I’ll see if this holds up in the future.
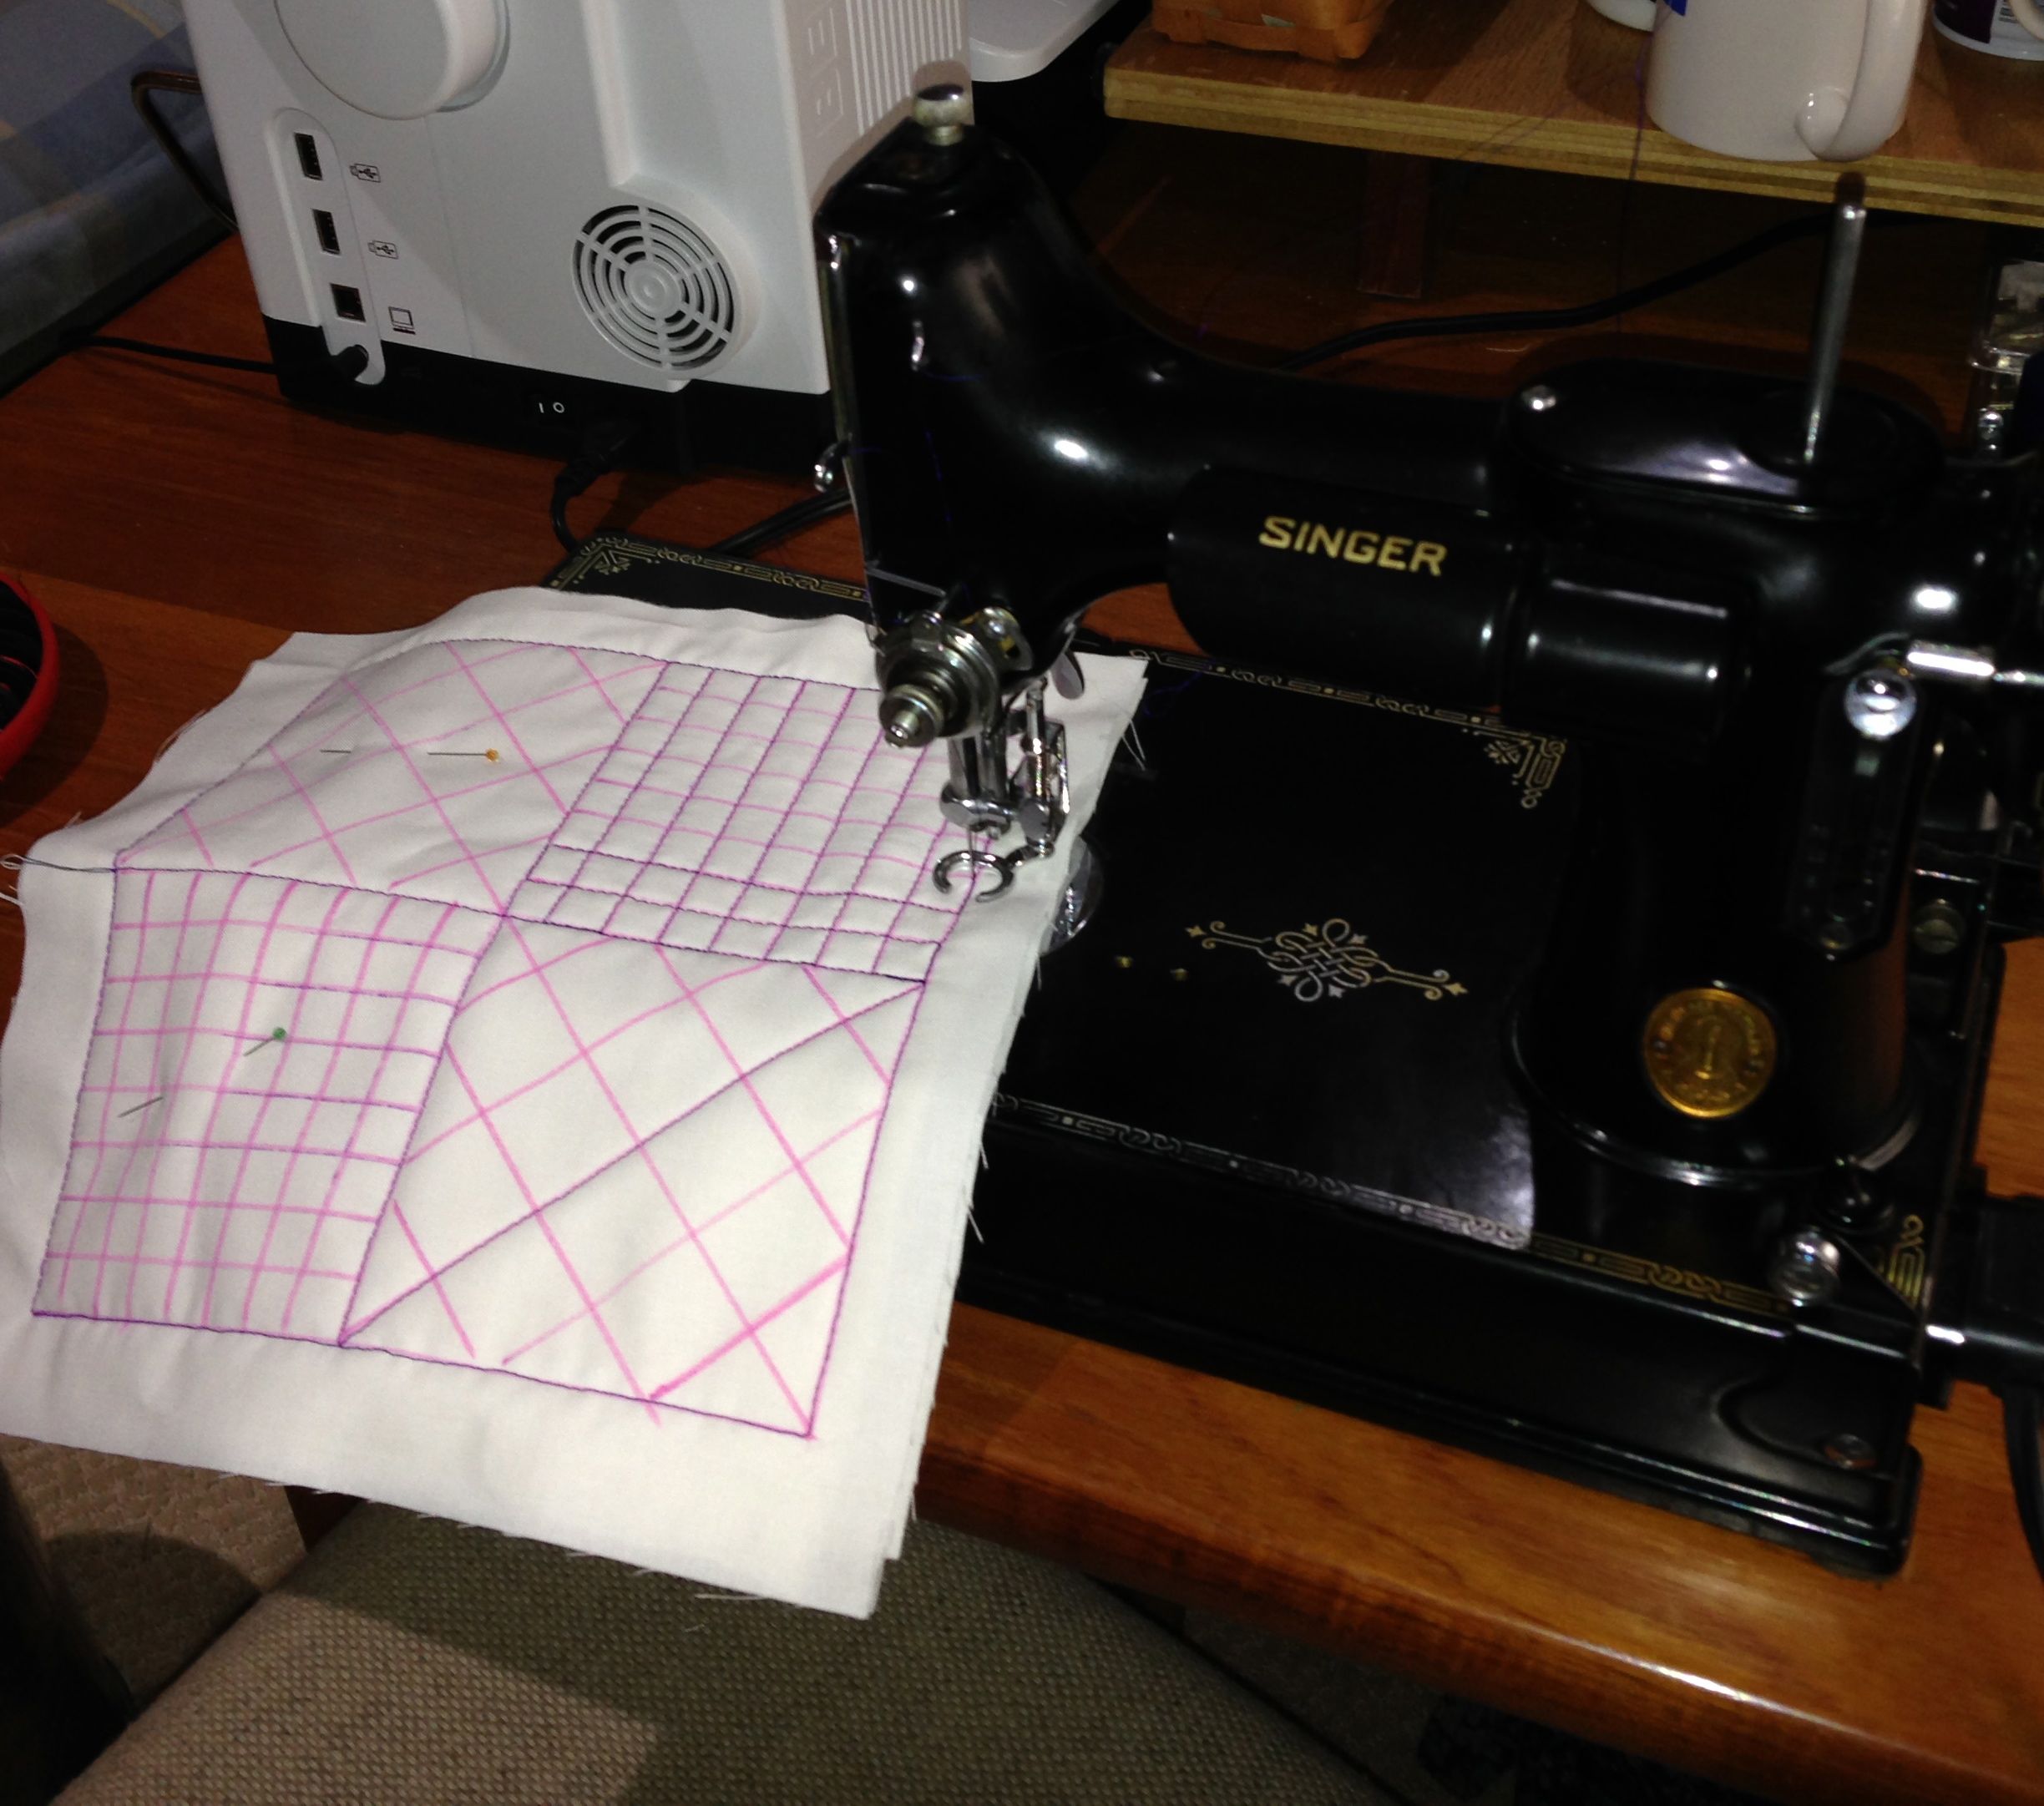
Before I quilt any of my blocks, I make two or three practice sandwiches. My goal this week was to concentrate on two aspects of free motion quilting, but in the end, a third was thrown into the mix. I really want to learn to quilt in every direction so my stitches will be the same whether I’m going from left to right, right to left, top to bottom, etc. This will be useful when I quilt a large quilt. Also, I want to have nice even and juicy stitches. With this in mind, I quilted a couple of sandwiches, and a new problem cropped up. I was finding knots on the back of my practice pieces. This was because I didn’t have control of my needle when I was stopping to reposition my hands and then starting again. The needle would go up and down a couple of times and of course, there would be a knot on the back. . . Not pretty.
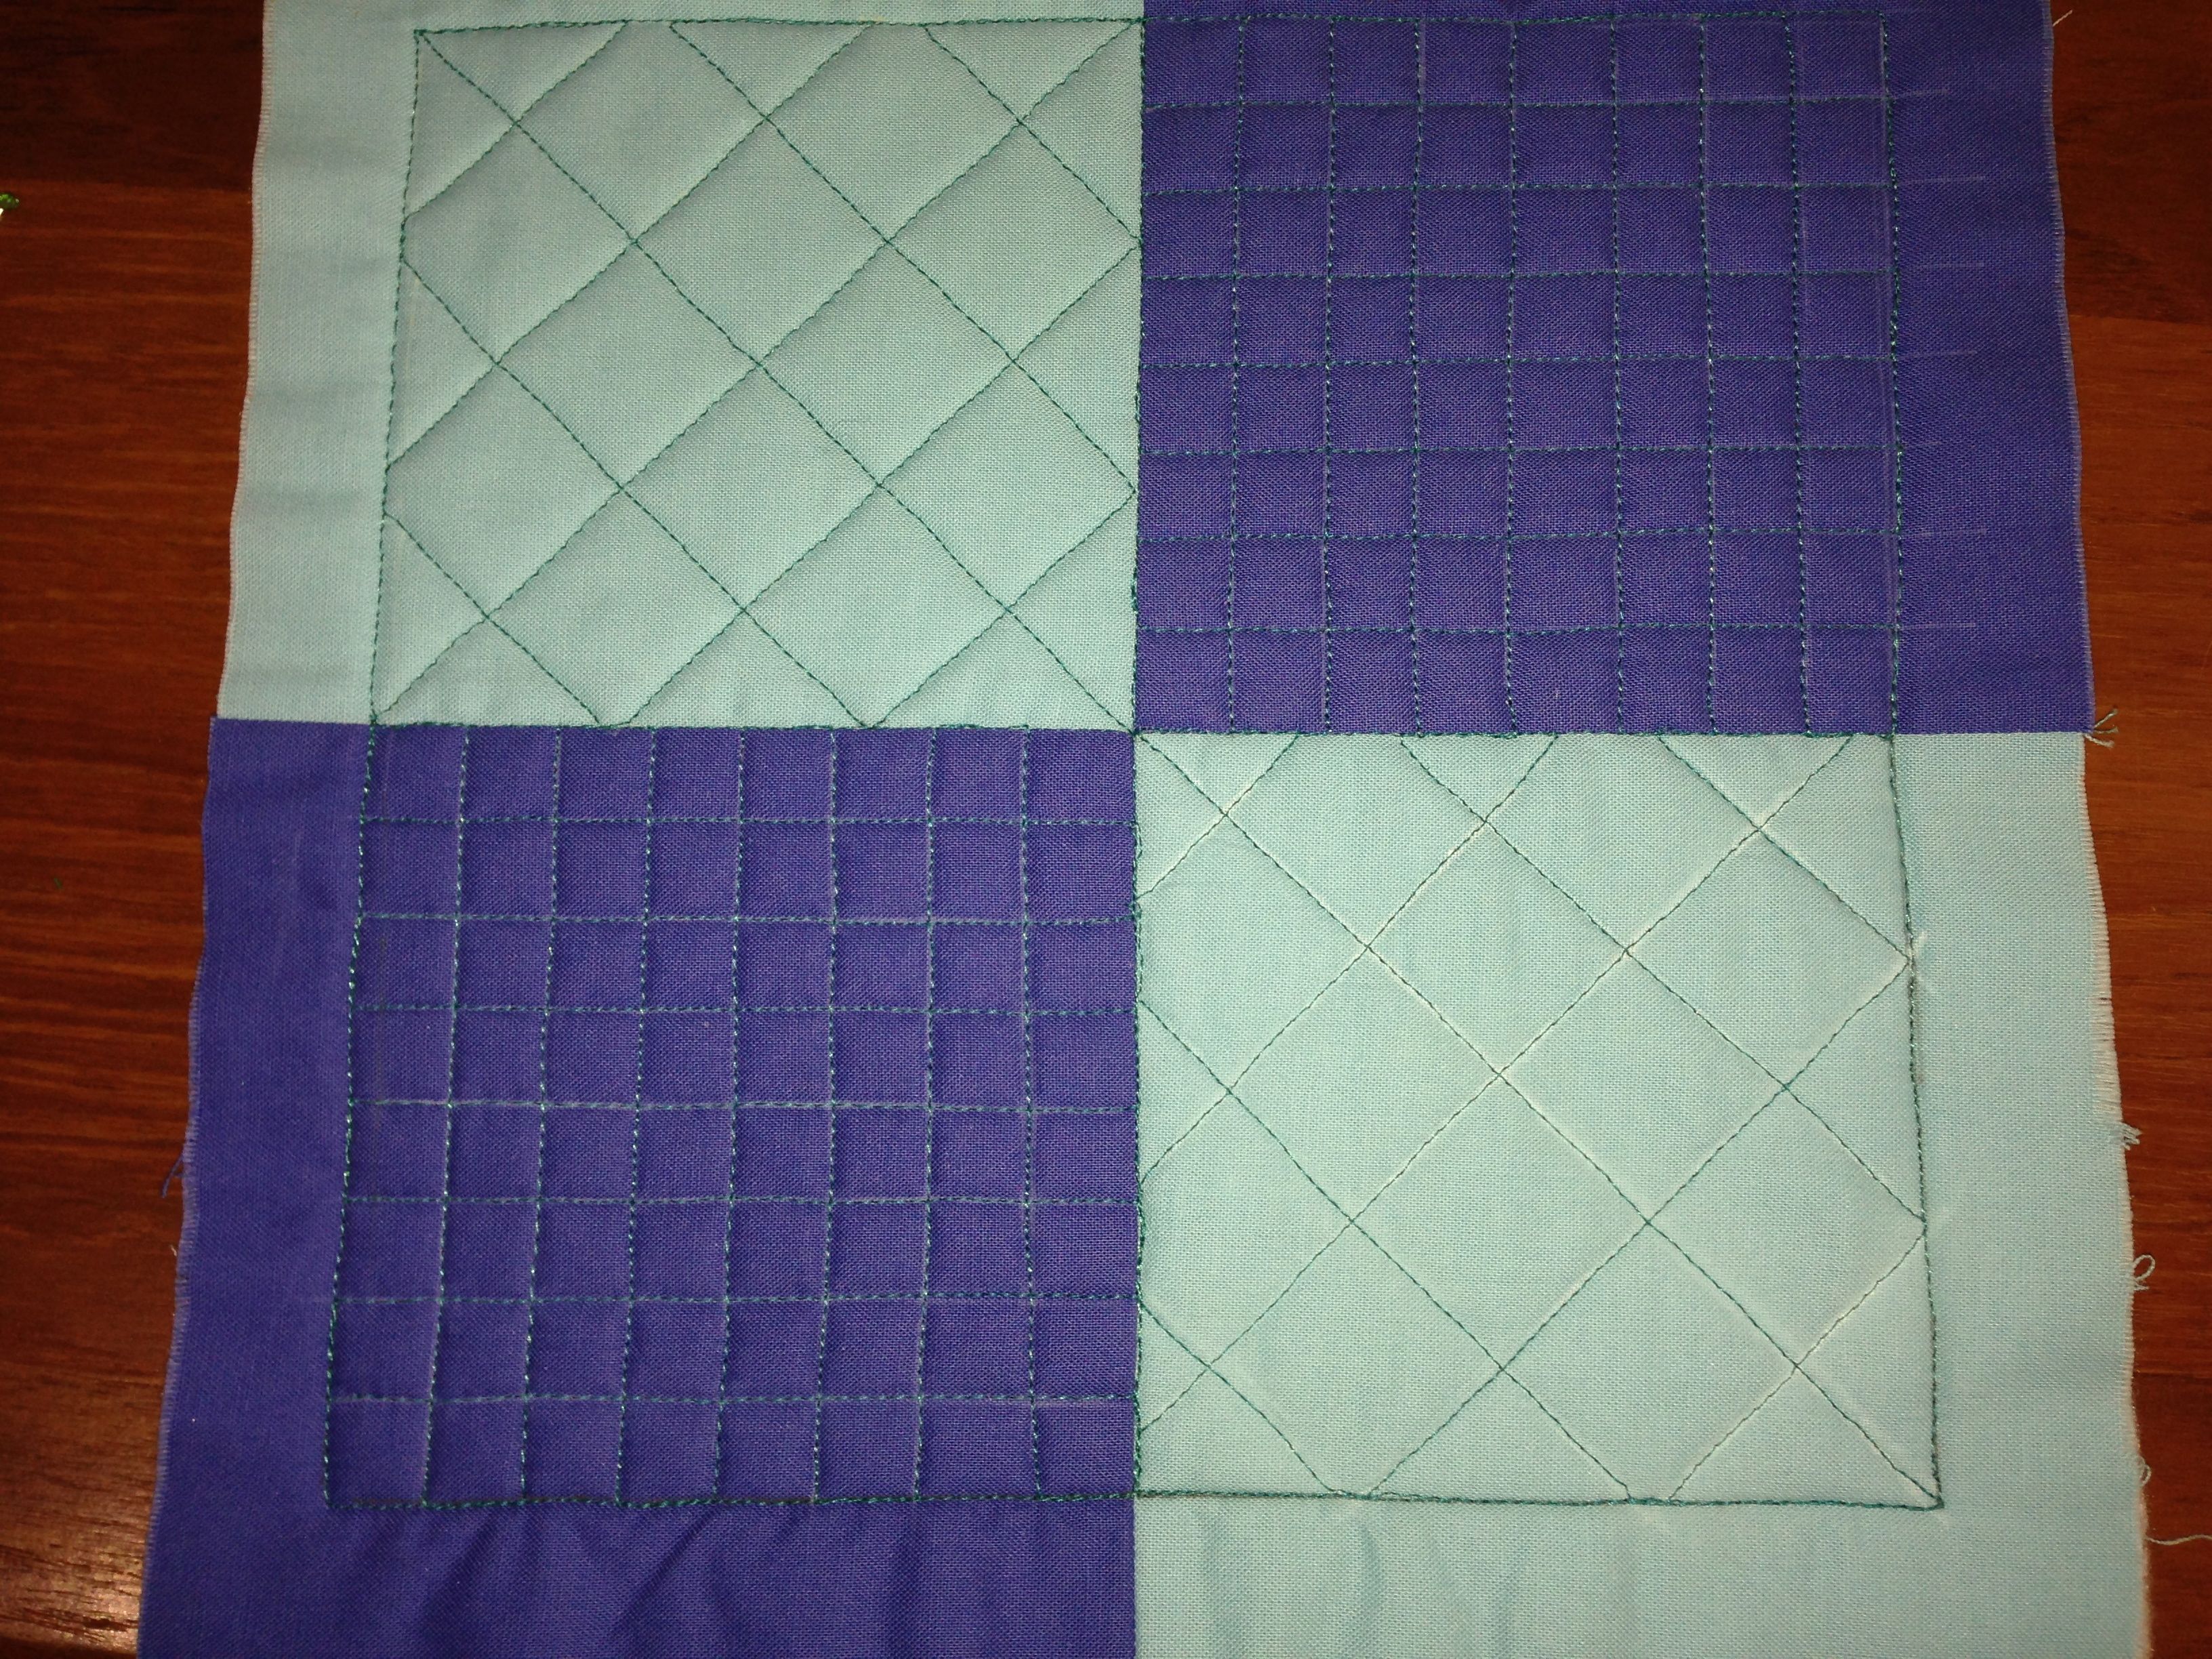
So, I made another sandwich and analyzed what I was doing wrong. (From what I understand, this isn’t a problem with some other machines. But all machines have different features.) I spent awhile starting and stopping and realized that I have to concentrate on exactly where I’ll move my hands before I step on the foot pedal. With my machine set to the slowest speed, I was able to watch every stitch being formed and it was amazing. Knowing exactly where I was going before I moved eliminated the knots. As you can see, there is only one small knot on the back of this block. I still need more practice in stitching from right to left. The one rounded corner and the not-so perfect ditching occurred when moving in that direction. Hopefully as I practice more, I’ll be able to keep this kind of control as I gradually increase my speed. Overall, my stitching looks better than I have ever seen it going at a slow pace.

This method of learning is so helpful. I have been free motion quilting for almost two years now. I have always used thread color that blends with quilt tops to cover any flaws. Using solid fabric with contrasting thread makes it easy to see where one must improve. Also, I am feeling more empowered using a darning foot with the control it affords me. Thank you Leah Day. This is an awesome way to learn.
It All Came Together!
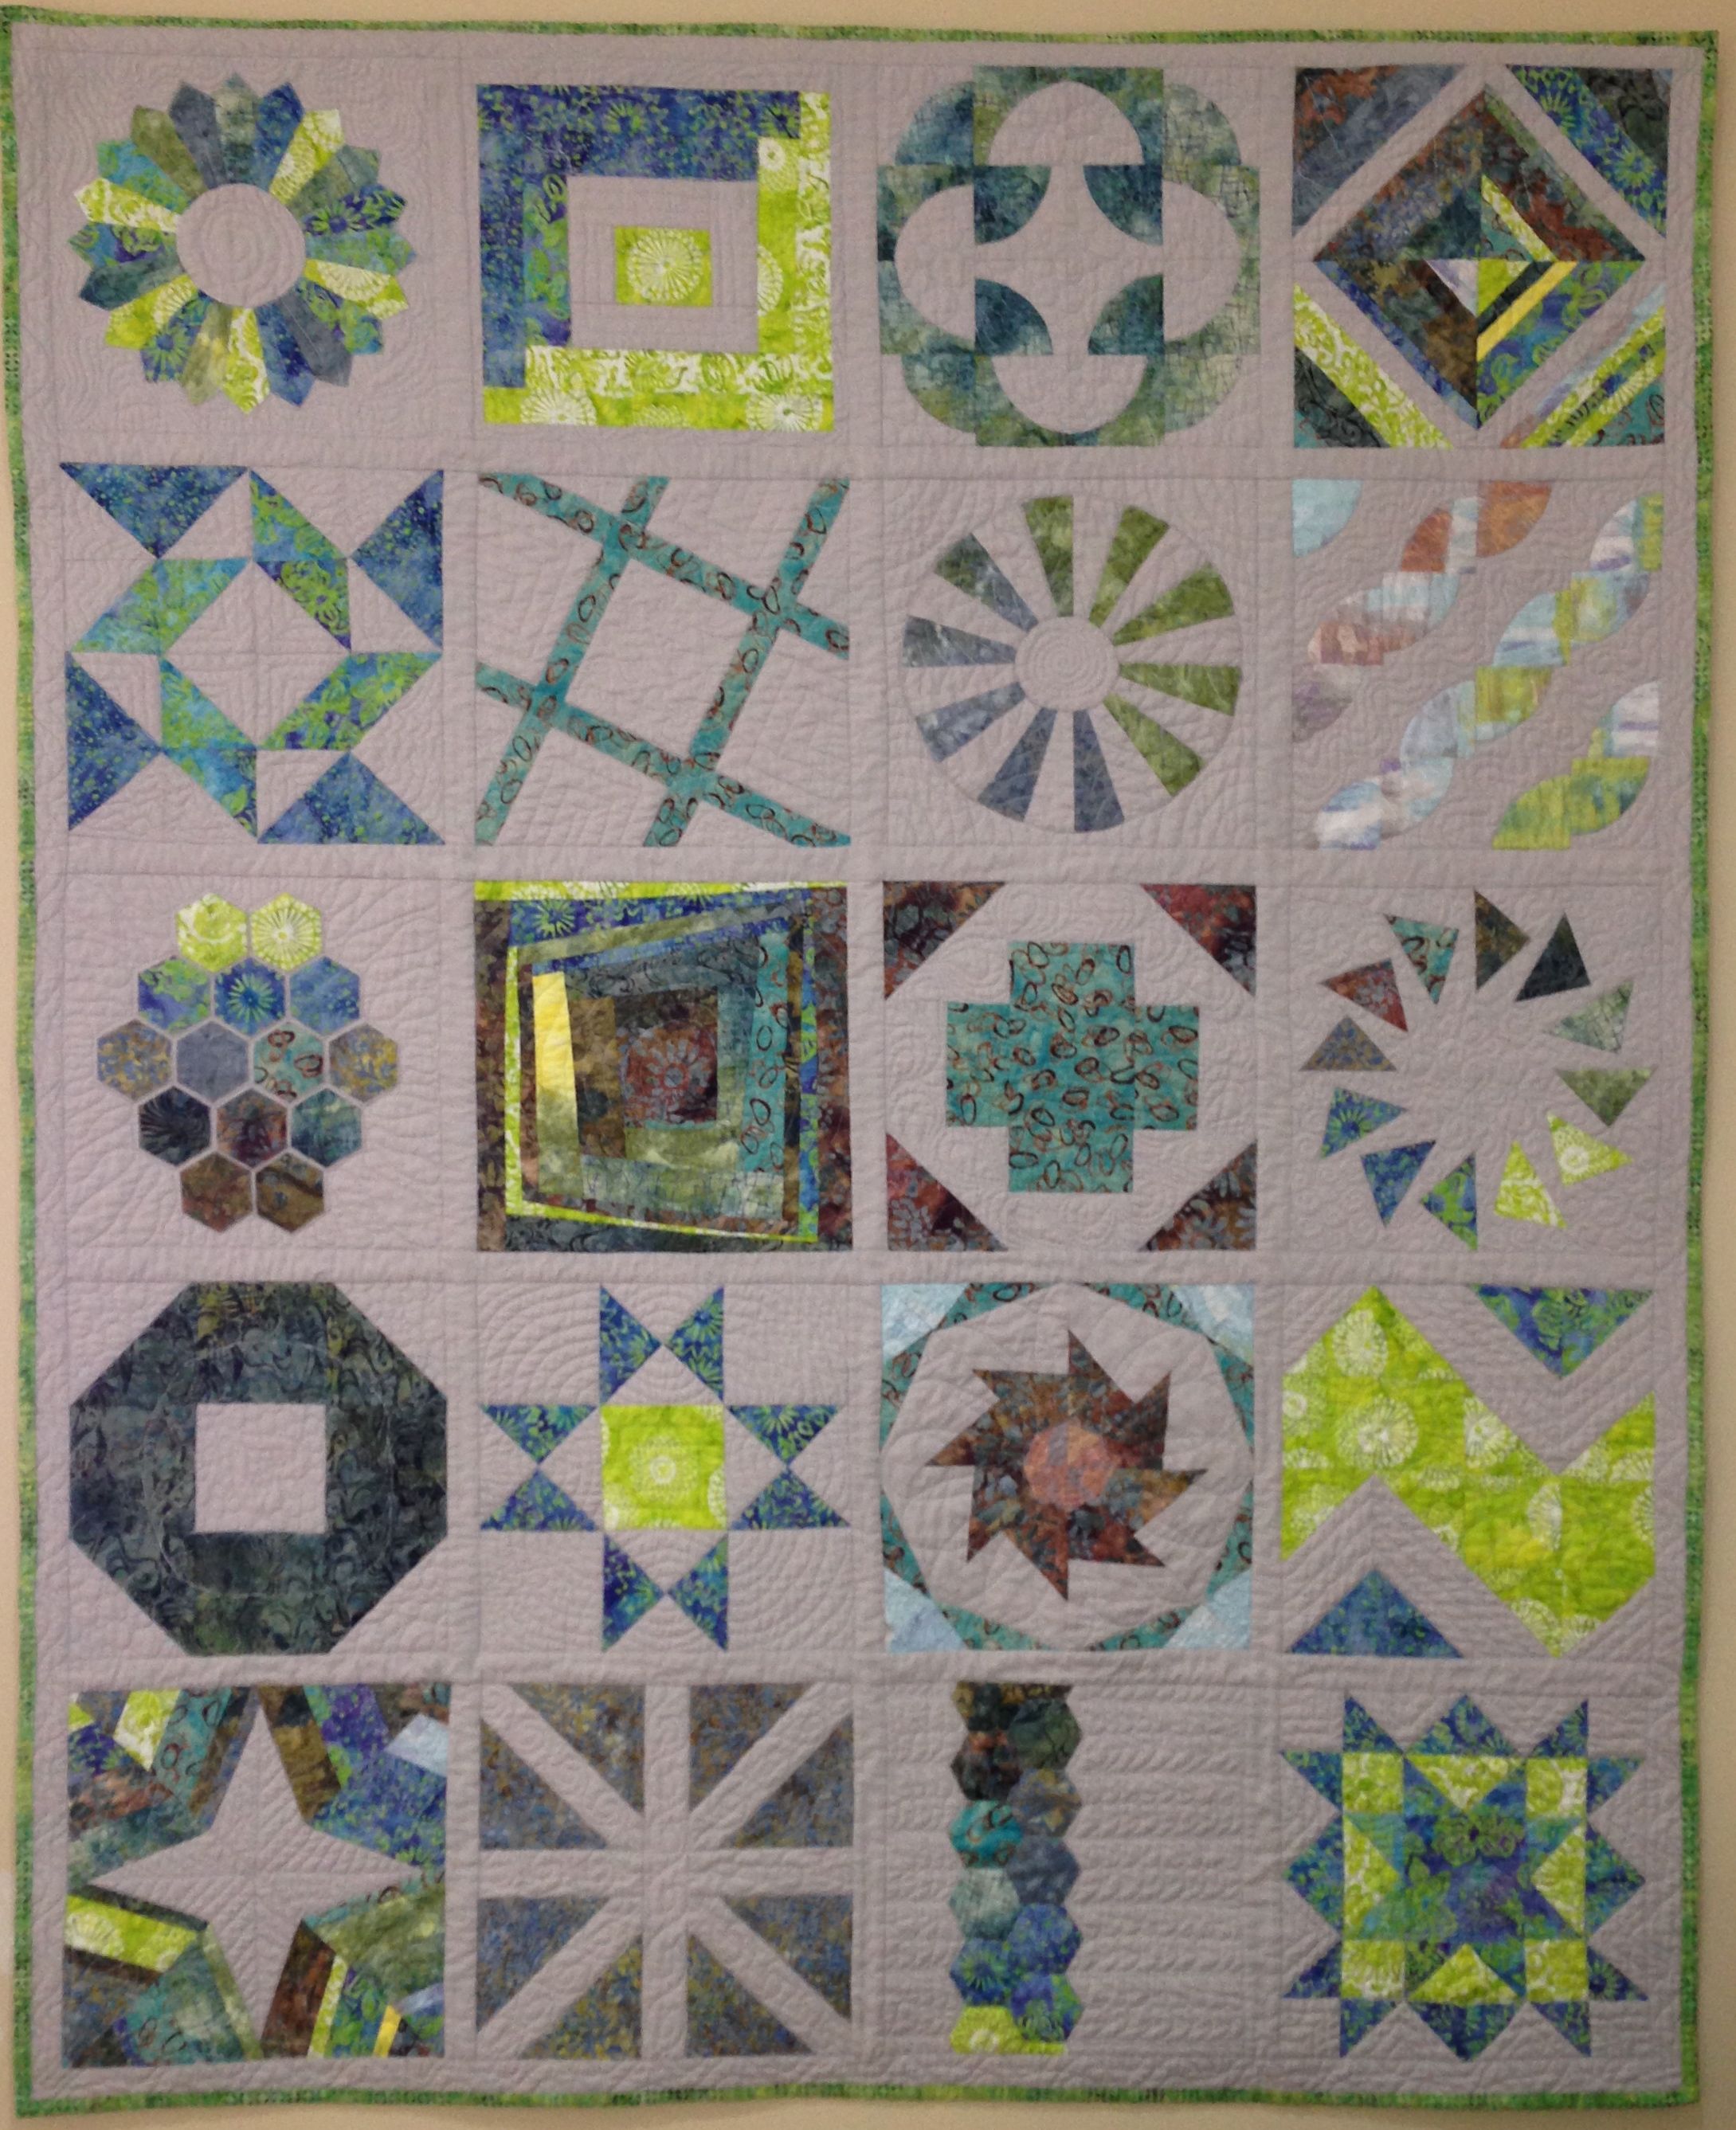
In the end of November I finally finished my Block of the Month 2012 quilt from a Craftsy course. Amy Gibson was the instructor for the quilt top. Leah Day offered Free Motion Quilting a Sampler on Craftsy in conjunction with this. It was an incredible project that taught me so much. I highly recommend both! I wasn’t sure where I was going to use the quilt. The colors really didn’t go in any of our rooms.
A couple of weeks ago, we decided to put a twin bed in my sewing room so we could have an extra guest bed. I removed a small table that was nothing but a magnet for stuff and completely reorganized. I reasoned that with the twin bed, I could put a finished piece of furniture grade plywood over it to use as extra work area and store it under the bed when not needed. This new furniture arrangement opened up a wall where I decided to hang my quilt.
I had two large square pillow forms that have been stored in my linen closet begging for covers for years. I just never knew what I wanted to do with them. Well, last week I had the brilliant idea of making patchwork covers out of scraps from the quilt. This won’t take long, I thought. I can knock these covers out in a day or so. I used my Accuquilt to cut out squares that were 4 7/8″ and then made piles of half-square triangles. (Ha! Ha! I spent four days on this project. Typical!)
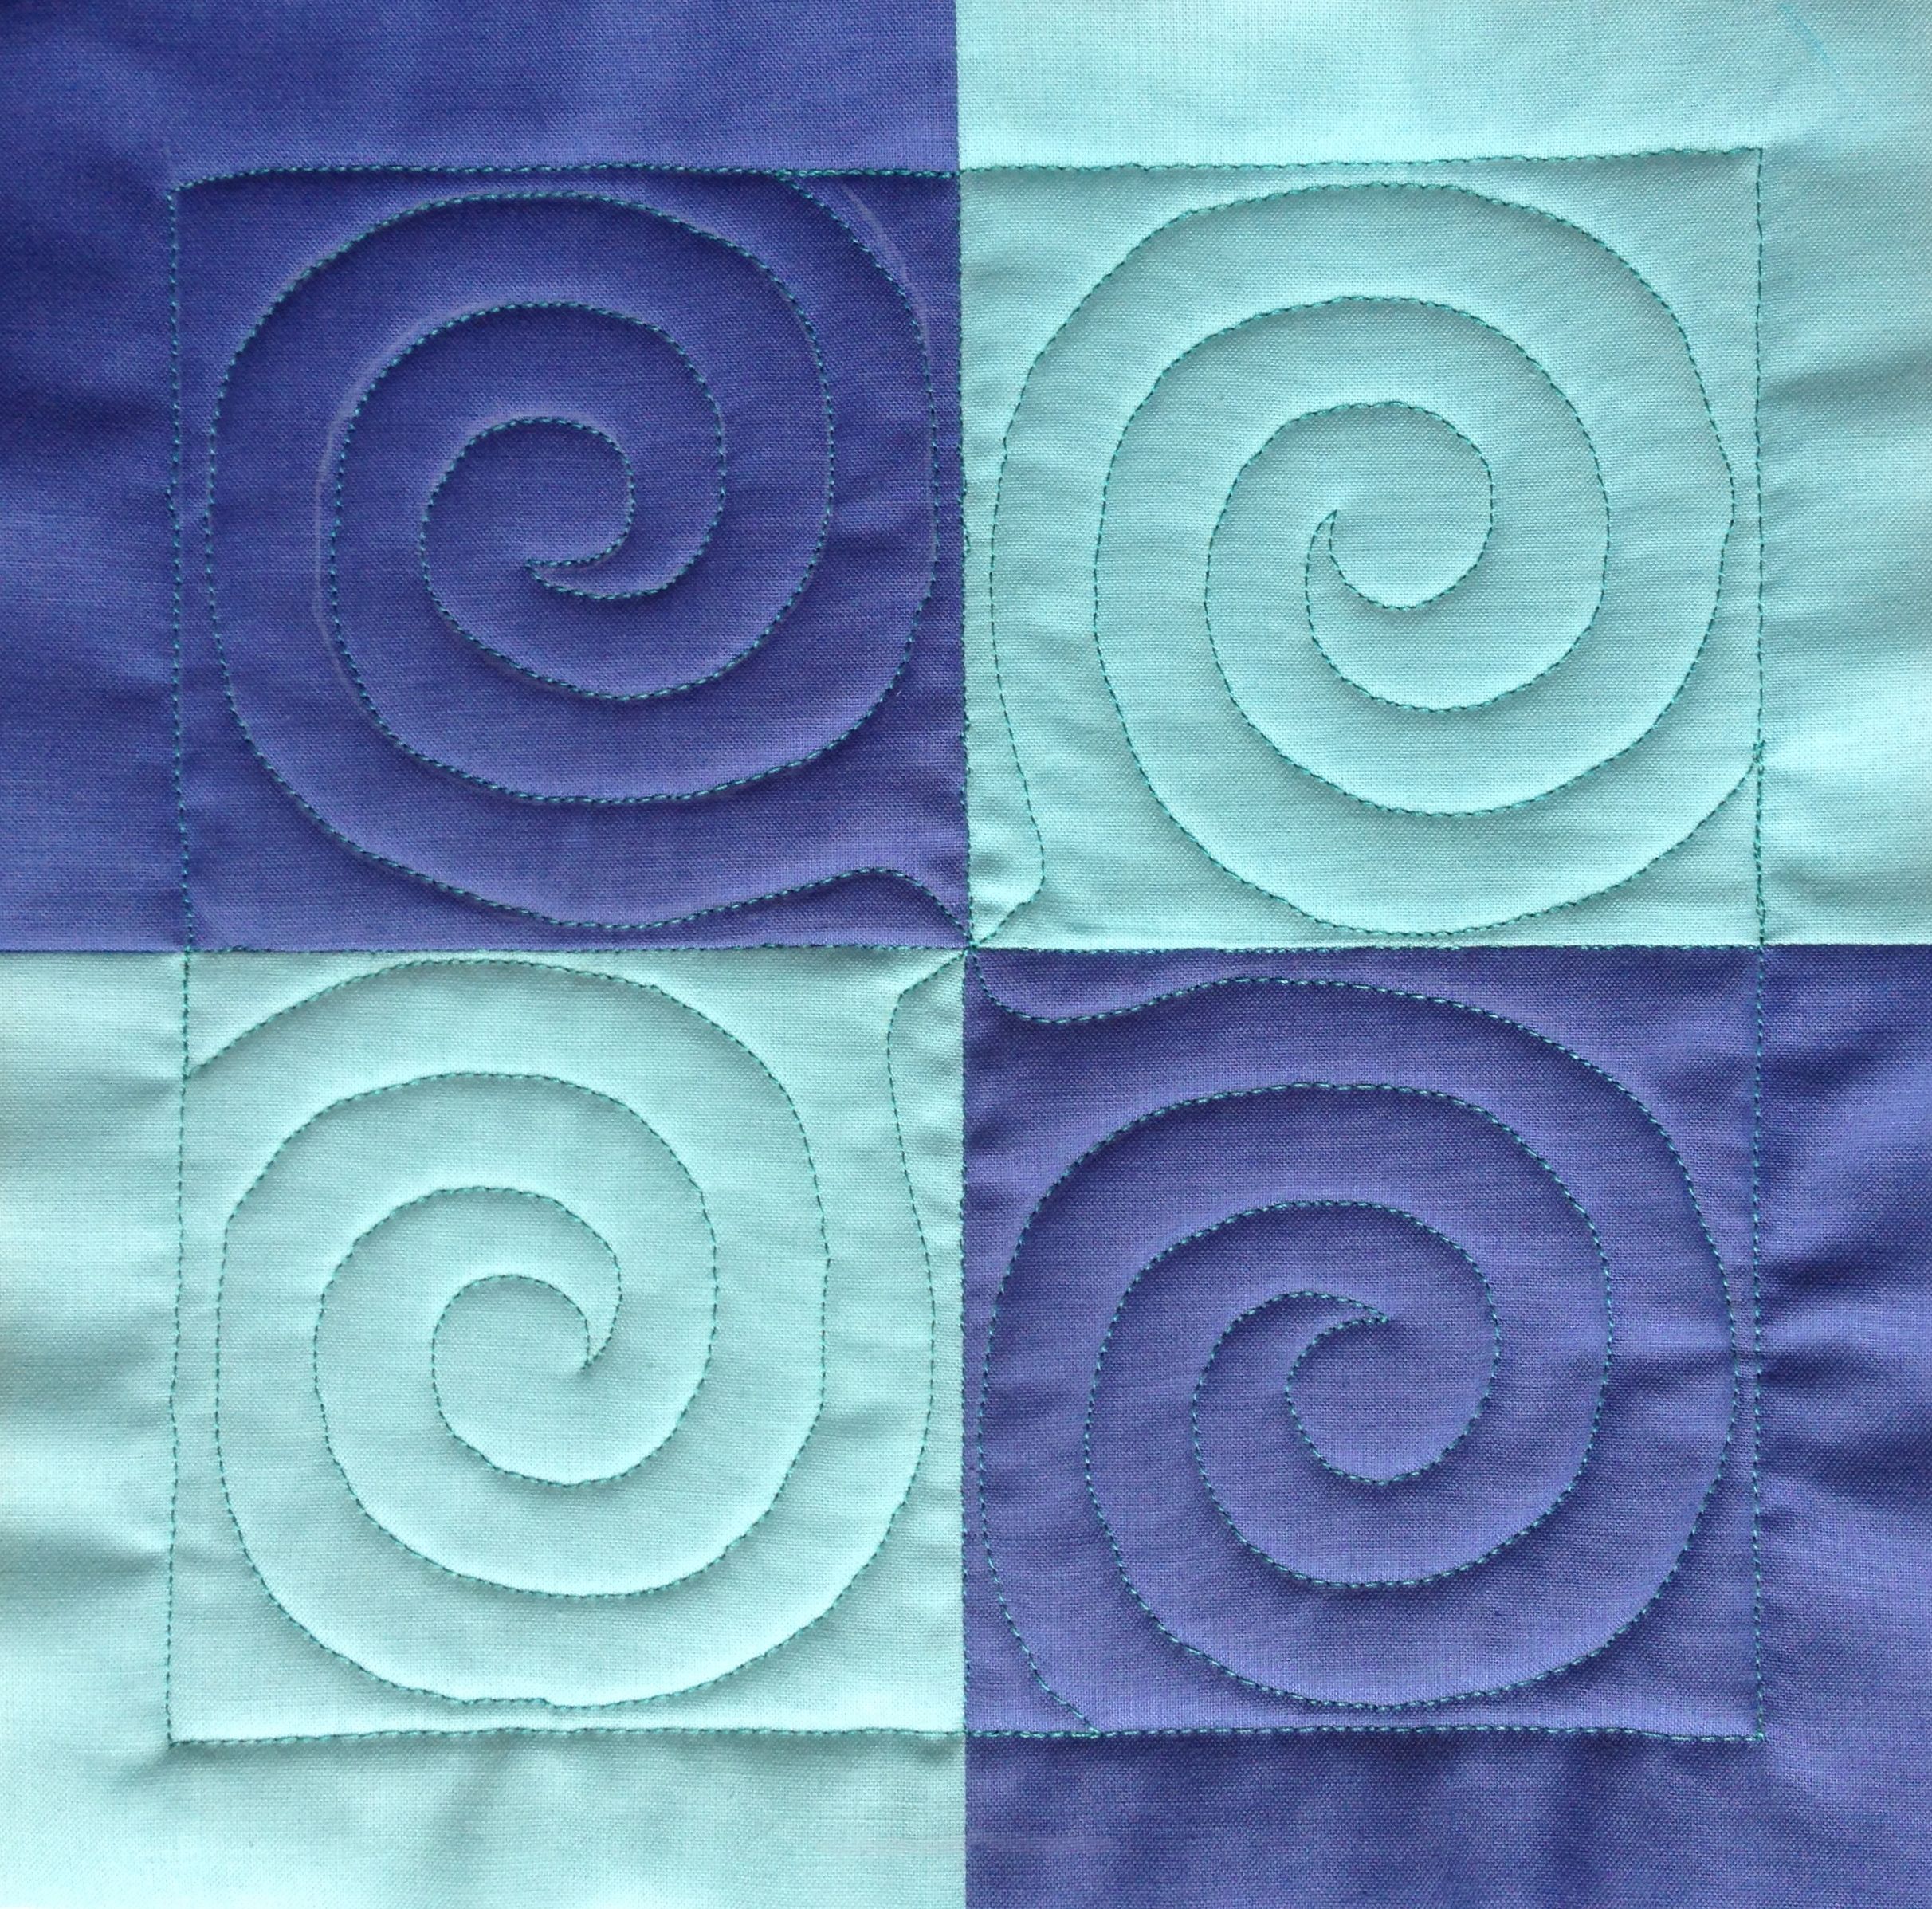
At any rate, I quilted one of the covers in the spiral design from the Building Blocks Quilt Along and used another circular pattern from Diane Gaudynski dubbed by one of her friends as Diane-shiko. This pattern is usually used in smaller scale for filler, but I like the way it worked on my half-square triangles. 
I also decided to use cotton batting instead of the polyester bat that I have been using. I like the forgiving nature cotton has for hiding the flaws in stitching and it is so much softer after the final wash.
In the process I learned a lesson about Frixion marking pens. I thought that heat was the way to remove marks, but I read that steam is better. I now hold my steam iron a few inches from the piece and give a blast of steam. The marks disappear instantly and most ghosting on dark fabric is usually eliminated. Any ghosting that remains washes out in the final machine washing as long as you don’t iron over it.
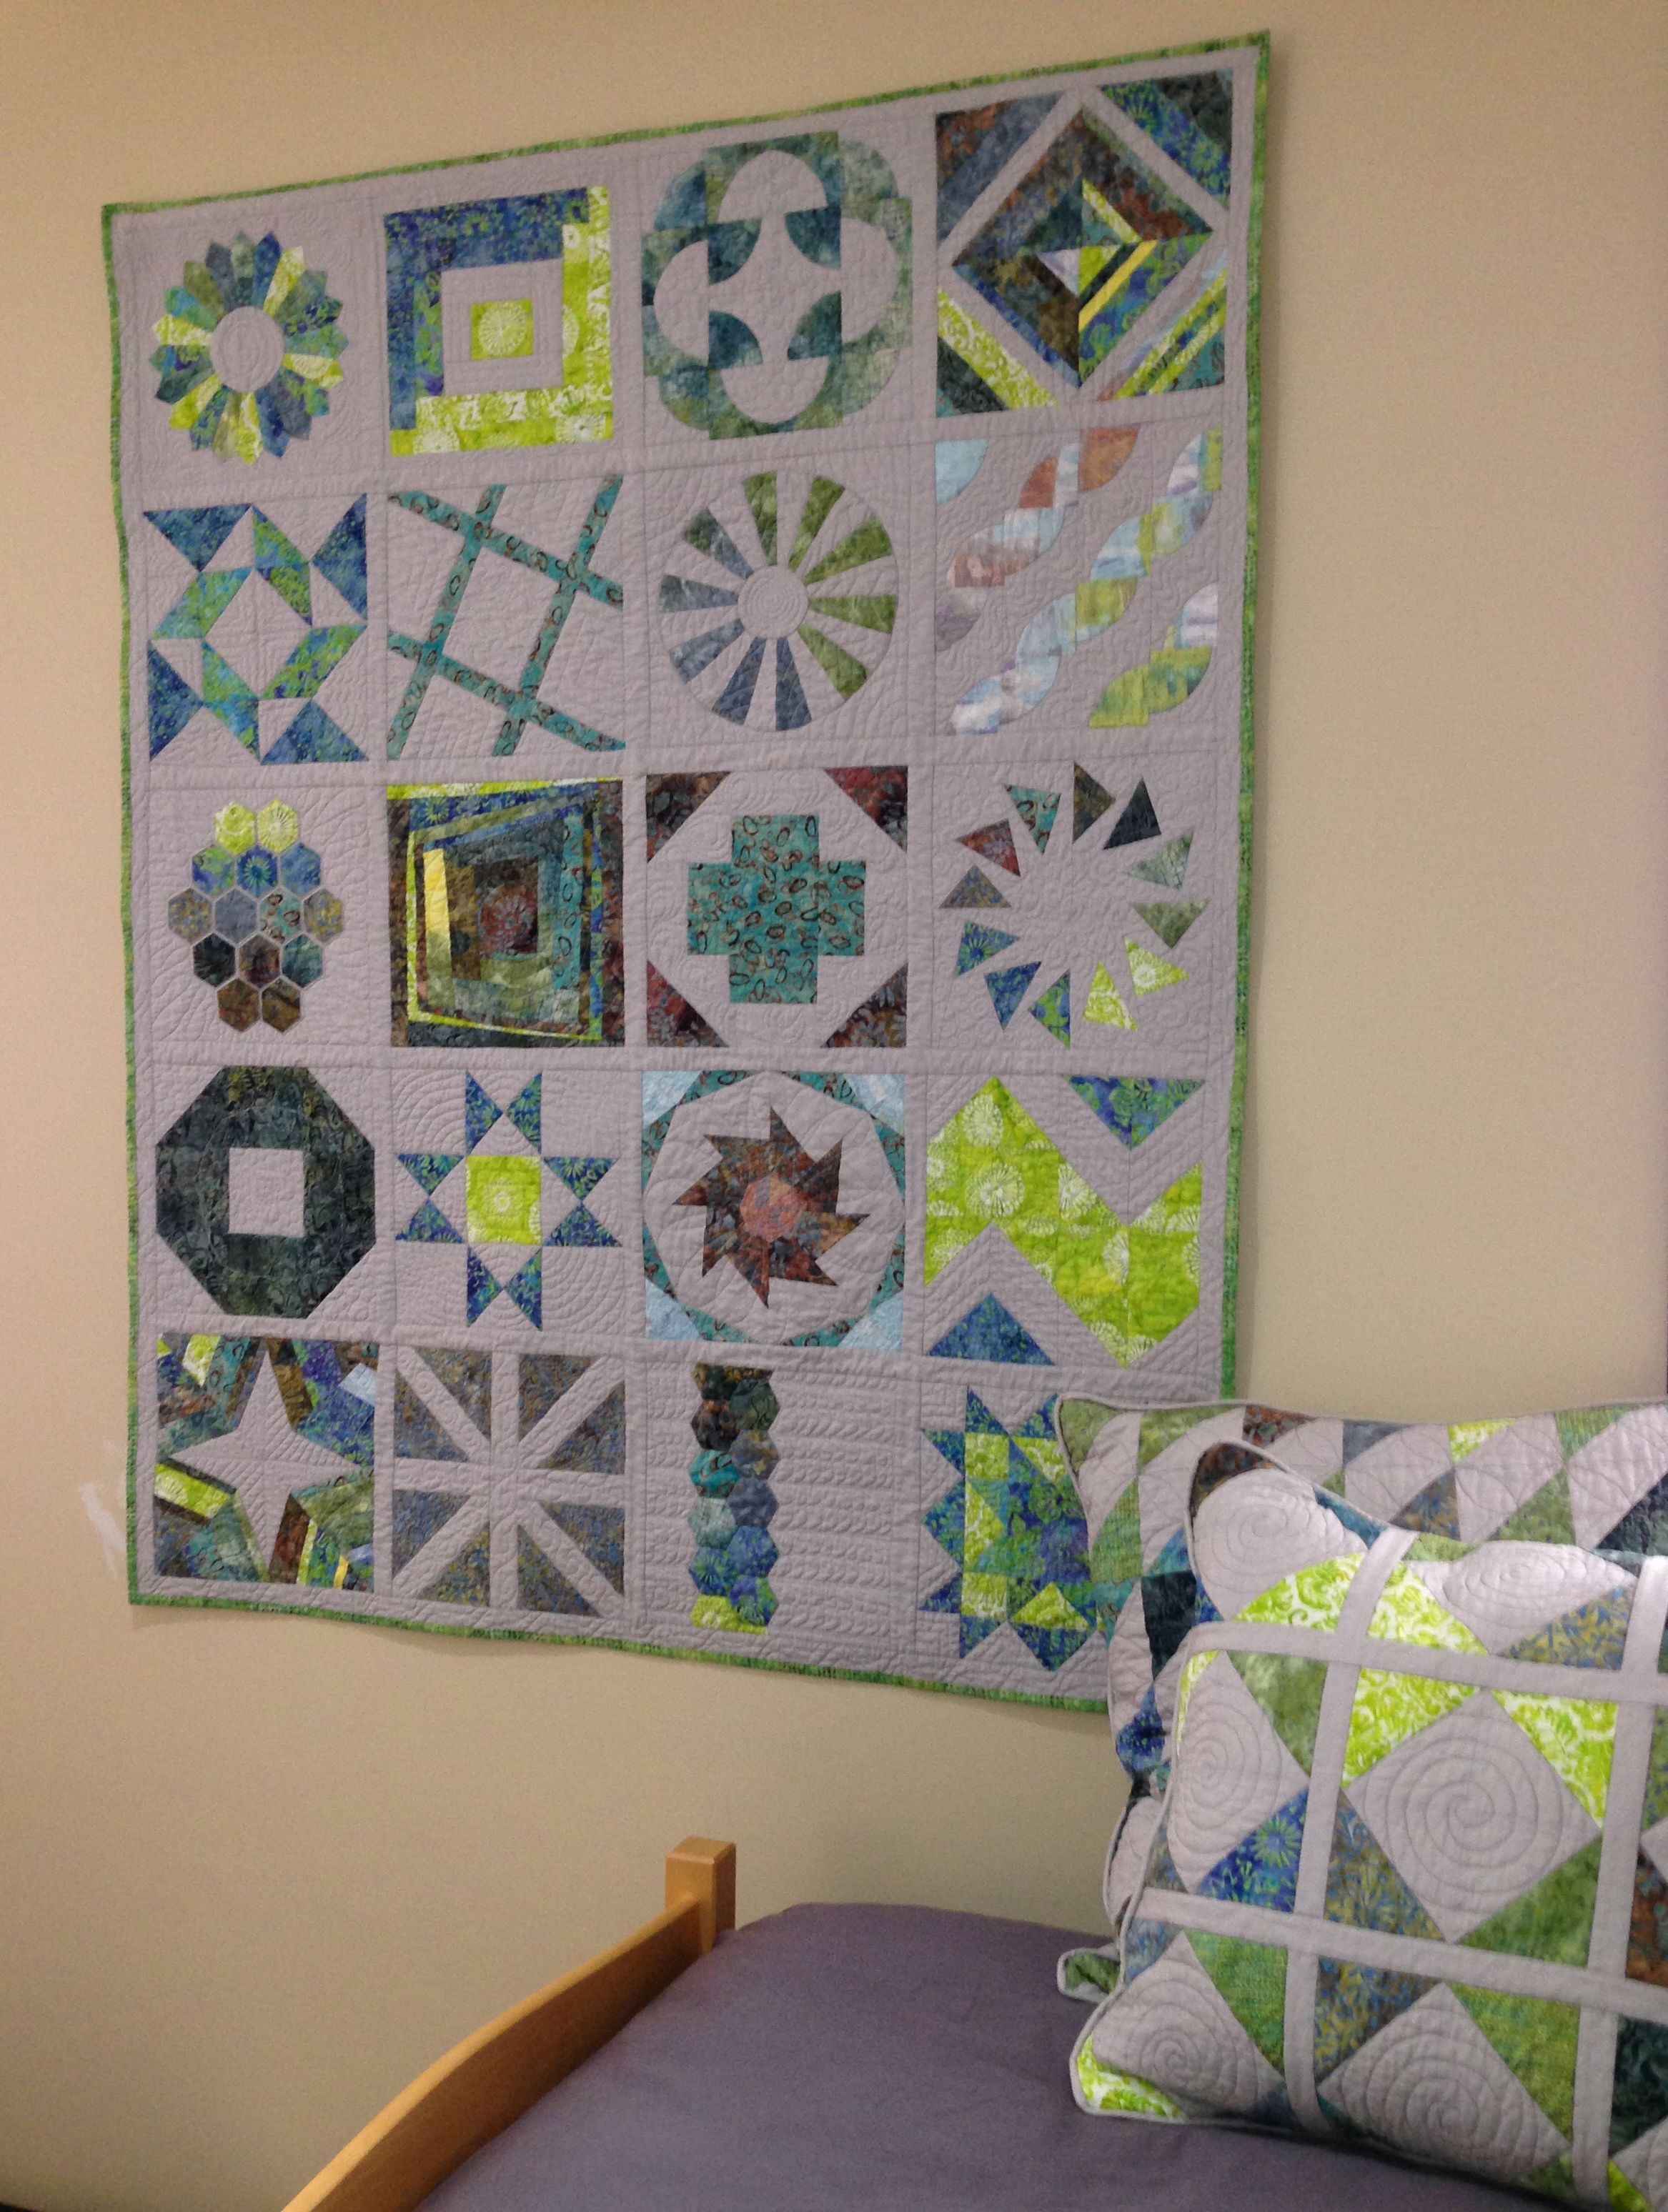
So here are my pillows and my Craftsy quilt. I’m happy about how it all came together. I’m looking forward to piecing Block 2 next week.
I’m linking up with Leah Day’s FMQ Project Link Up.